This article may contain affiliate / compensated links. For full information, please see our disclaimer here.

If you’re a blogger seeking out a tool that can help you design kick-ass graphics – even if you’re not a pro designer – then stop what you’re doing because in this article, I’m going to walk you through how to use Canva.
With Canva, anyone can create stunning visuals for their blog and social media with a few clicks of a button and zero design experience.
Gone are the days when you spend hours staring at a blank screen trying to come up with a design, or struggling with advanced software just to make a banner for your blog.
With Canva, the design process is super simple and any blogger can create professional-looking images directly on their browsers.
Canva was created for everyday people just like you and me who aren’t professional graphic designers. No longer do you need to fiddle around with complicated programs like Adobe Photoshop in order to make awesome graphics for your blog.
Whether you’re looking for a tool to create images for your articles, captivating call-outs on social media, or an entire brand look, Canva is the place to do it without wanting to pull your hair out.
In this article, I give a complete rundown of what Canva is, including everything you can use the program for. I’ve also included an in-depth Canva tutorial so that you can start to create beautiful visuals for your own blog by the end of this article.
Let’s dive in.
What is Canva
Canva is an online tool that allows you to create stunning graphics and visuals.
With Canva, you don’t need any design experience to make something eye-catching and visually pleasing. Rather, you have access to thousands upon thousands of professionally designed templates to choose from to edit and make your own.
Canva has a huge library of templates, design components, fonts, stickers, stock images, and more. Working with a drag-and-drop editing system, it couldn’t be easier to get things in the right place and have them looking exactly the way you imagined.
Using Canva makes the design process so simple and allows anyone to create gorgeous visuals for their blog even if they’re not artsy or comfortable with the design process.
Instead of struggling to learn advanced software like Adobe Photoshop or InDesign to create visuals, Canva keeps it simple while still allowing you to dream up and execute epic designs.
Plus, the sheer number of premade templates available in Canva streamlines the visual creation process and allows you to do it all in one place. Whether it’s for your blog content, downloadable freebies, social media graphics or anything else you’d like to share with your readers, you can bet you can create it on Canva.
This online visual creator is an awesome, all-in-one choice for bloggers as there’s a free version that allows you to get comfortable with the website, and a Pro version for an upgraded experience.
No matter what visuals you’re hoping to create for your blog, Canva is the place to do it.

What Can You Create on Canva For Your Blog?
Canva is our go-to tool for creating anything visual for our blog. It can be used for so much, which is why it belongs in every blogger’s toolbox!
With Canva, you can create:
- Pinterest Images
- Video Pins
- Value Gifts
- Blog Banners
- Digital Products
- Branding Materials
- Logos
- Presentations
- Cover Photos for Social Media
- Ebooks
- Advertisements
- Instagram Posts
- Infographics
- Photo Collages
- Business Cards
- Video Thumbnails
- Animated Graphics
- Recipes
- How-To Guides
- … And so much more!
One of the best parts about Canva is they have a template for pretty much everything. No matter what you’re thinking about creating for your blog, just type it into Canva and you can bet they have a template for it.
We actually use Canva for creating all of our Pin images, value gifts, and any additional graphics we may need for our blog content. It’s so easy to edit and add things to images on Canva and we use it frequently to edit photos and add elements like speech bubbles or text overlays.
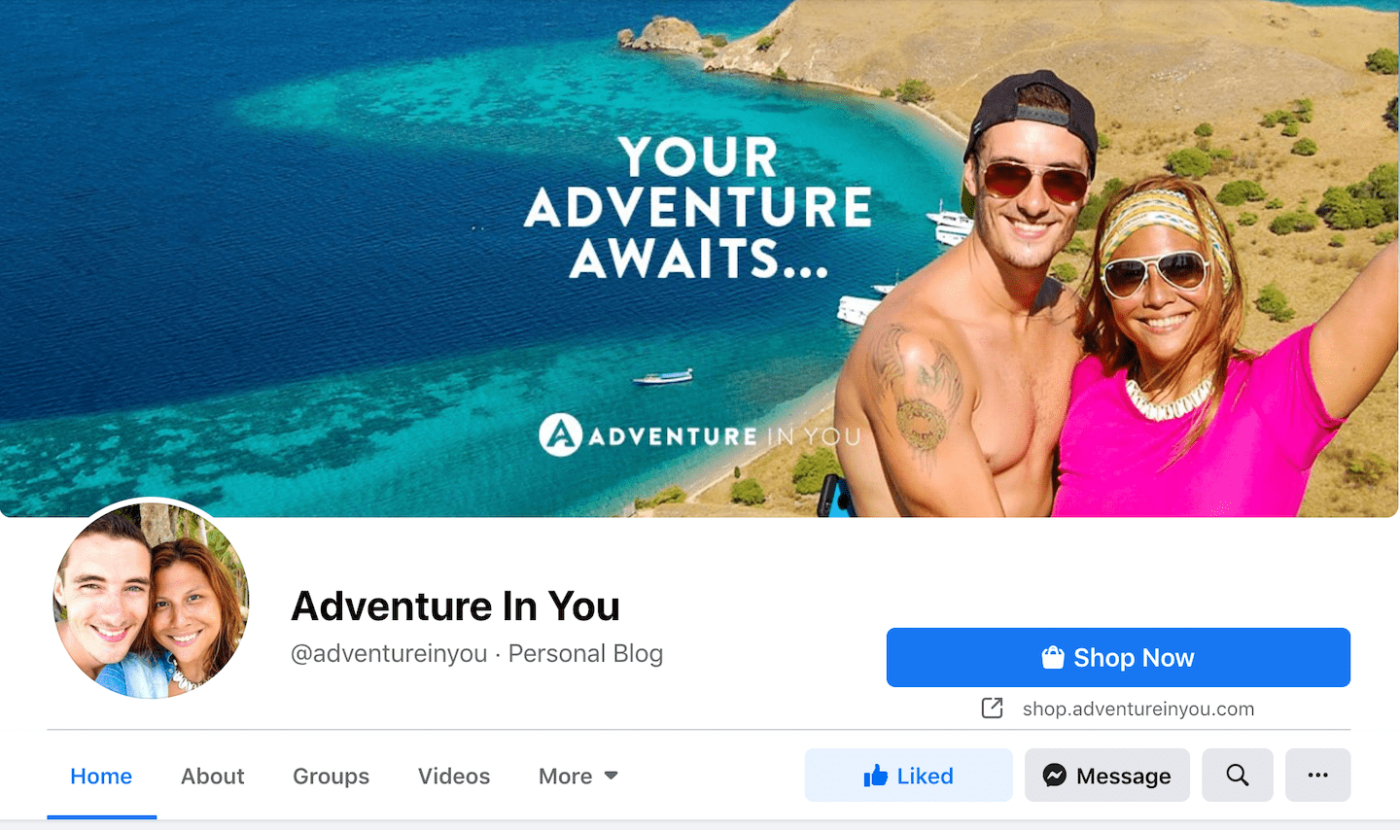
Since Canva covers such a wide range of topics with their templates, we’ve created loads of lead magnets like ebooks and packing lists, as well as cover images for our social media (check out the image above) and featured images for all of our articles.
If you’re hoping to create stunning visuals for your blog without hefty design software or advanced experience, Canva is the best place to do it.
We love the fact that we’ve been able to create amazing digital products, along with heaps of branding material that we actually profit from by using such an affordable and easy-to-use tool.
Want to try Canva Pro out for FREE? Click here to get a 30-day FREE trial!
Should You Upgrade to Canva Pro?
If you are on the fence about upgrading to Canva Pro, watch this quick video on why I think upgrading is worth it as I show off some of Canva Pro’s main features.
How to Use Canva (Tutorial for Beginners)
You can use Canva in a whole lot of different ways. In fact, the possibilities are practically limitless when it comes to designing with this online tool.
To cover the basics, here’s a walk-through Canva tutorial to help you get started.
Step #1: Decide on the Type of Image You’d Like to Create
First, decide on what kind of image you want to create for your blog.
Do you want to create:
- An image for your blog content?
- A featured image to sit at the top of your post?
- Pin images to go at the end of your article?
- Social media posts for Instagram and Facebook?
- A value gift your readers can download from your blog?
These are just a few of the ways we personally use Canva as bloggers, although this list is just scratching the surface of what you can do with this tool.
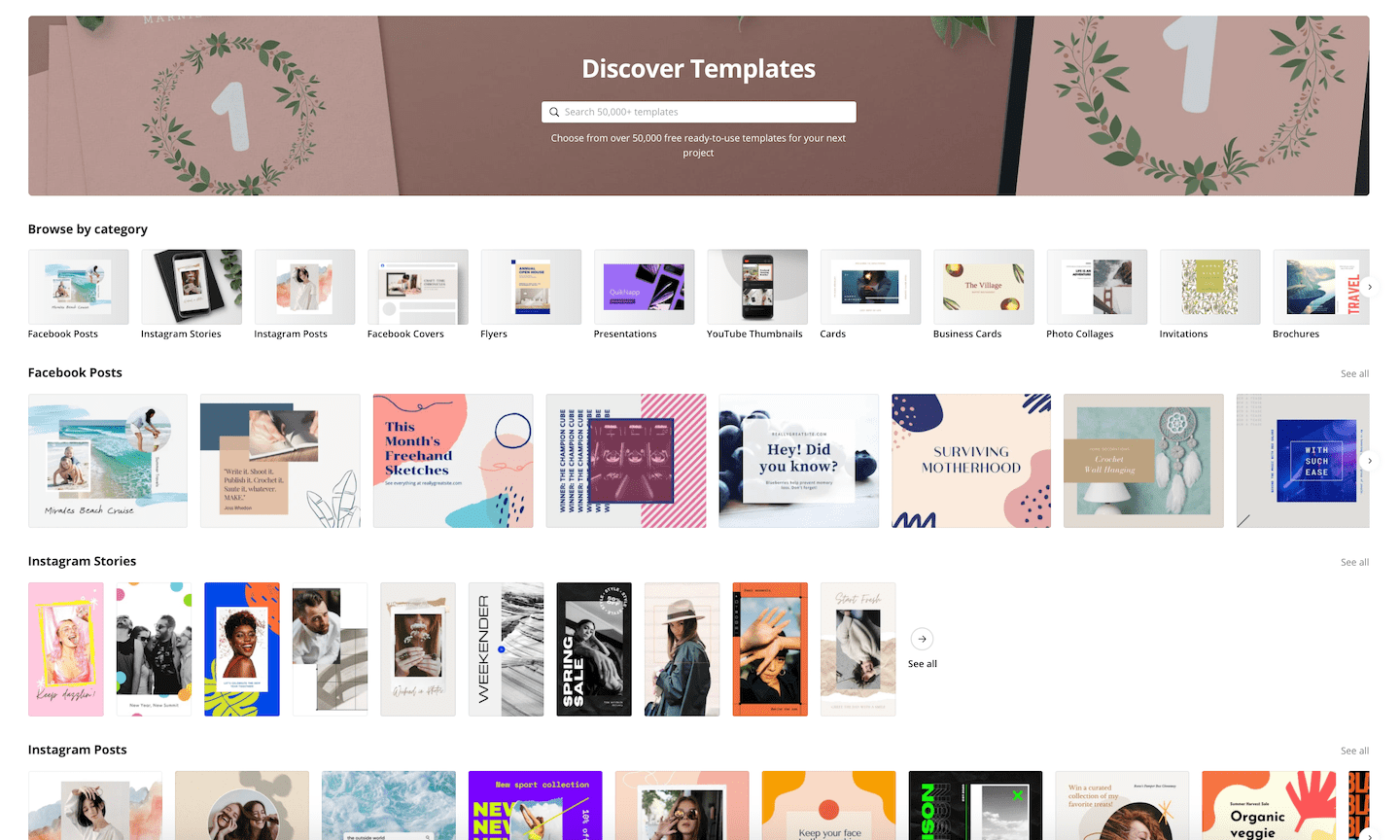
If you already know what kind of image you’d like to make, all you have to do is locate the category for it and find a template you like.
But if you aren’t sure what design you’re after and need some inspiration, take some time to browse the dozens of categories available on Canva to find exactly what you’re looking for.
You can also create a document with custom dimensions, so don’t feel locked into templates if you can’t find something that fits your needs. These are here to get the gears turning and give you some inspiration when it comes to creating your own design instead of starting with a blank canvas.
If you’re in need of some inspiration, check out other images online, or things that bloggers have done in the past. From there, you can take to Canva to recreate it in a unique and original way.
Step #2: Browse Design Templates and Find One You Like
Once you know what type of image you want to design, you can begin to browse through templates.
Pro Tip: If you like more than one template, you can actually combine them to create an image using both of them!
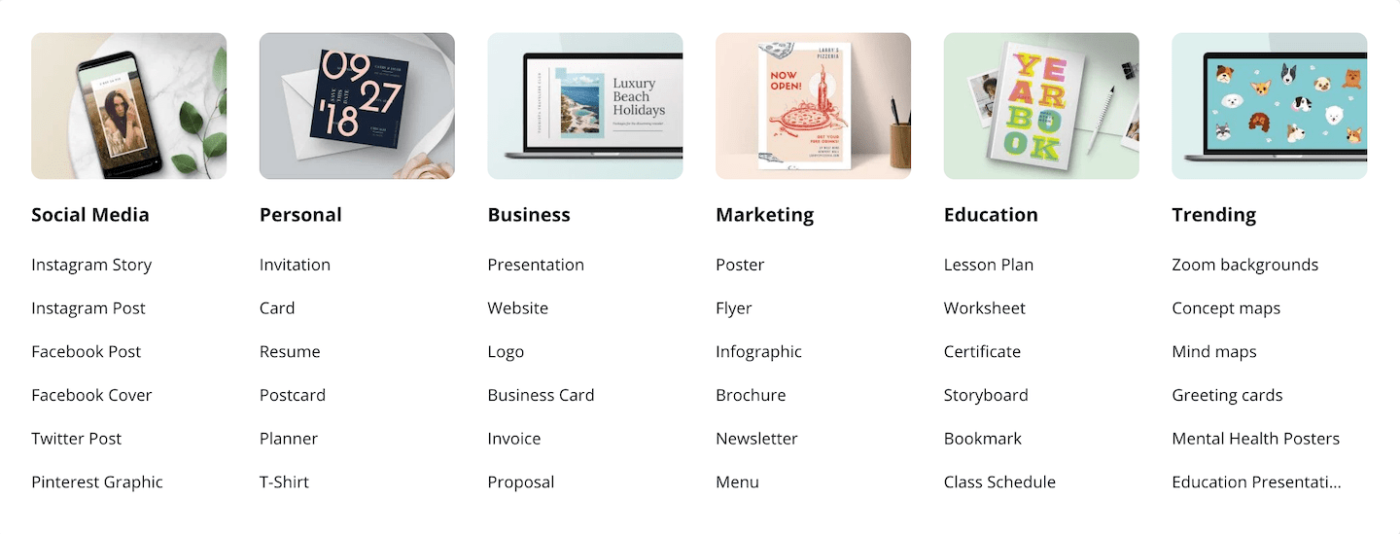
Templates are broken up into categories like:
- Social Media
- Events
- Marketing
- Documents
- Prints
- Videos
- Personal
- And more
Each template is optimized to fit the right dimensions, so you won’t have to struggle to make your design fit where it belongs… Canva does that for you!
If you’re struggling to find a template that fits what you’re trying to make, you can also search the entire design library using keywords.
Canva also curates a selection of recommended templates based on what you’ve used in the past. This is a great place to start browsing if you’re feeling overwhelmed!
For more inspiration, you can check out trending templates to see what other people are using.
Once you find a template that you love, click on it and you’ll be brought to the editor.
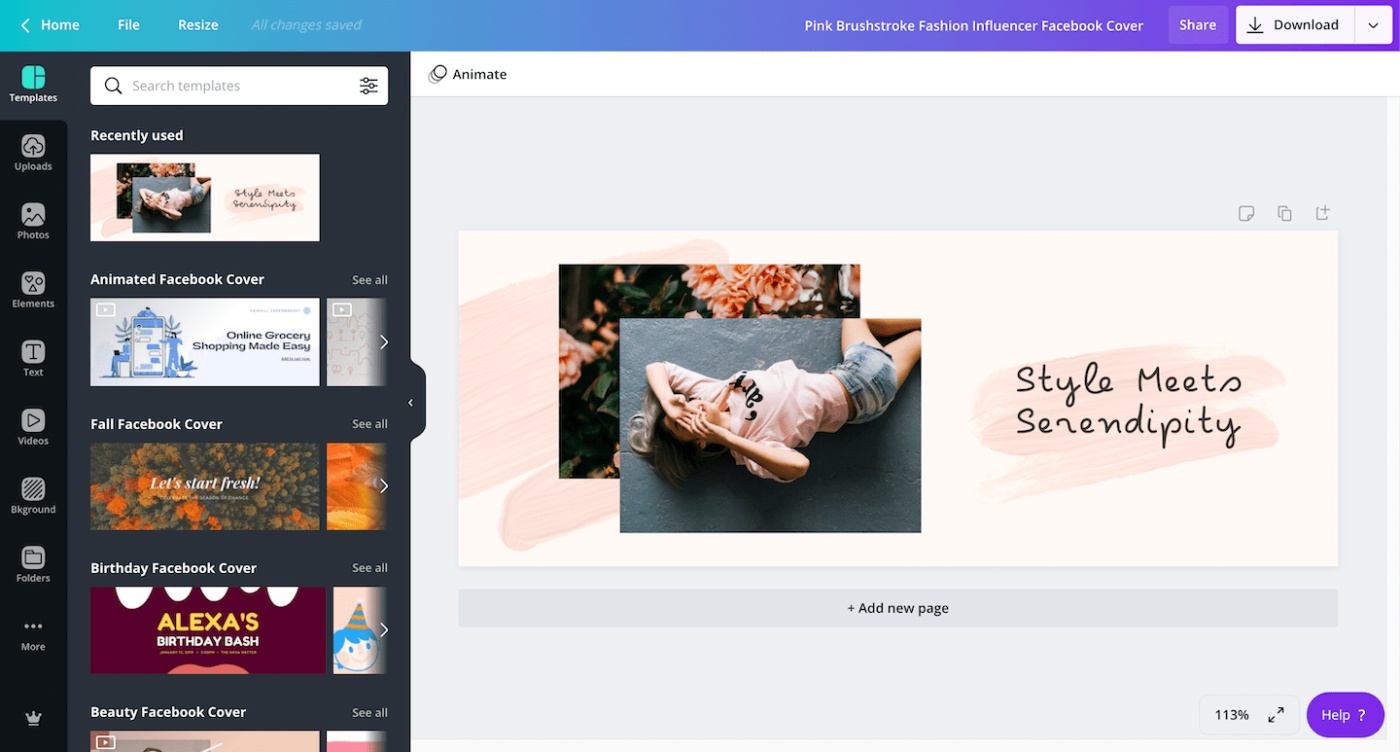
Step #3: Customize the Design
Next comes the fun part… customization!
Canva has infinite ways to customize your design, from colors to fonts to stickers and more! Best of all, it works on a drag-and-drop system so that you never have to struggle with getting things in exactly the right spot.
Here’s a brief rundown of the customization features available on Canva.
Upload
On the customization page of Canva, the first feature on the sidebar is “Uploads”. This allows users to upload your own photos or videos to Canva to be integrated into your design.
This is particularly useful if you have an image that you want to add a text overlay to or doctor in any way.
You can also upload photos that you’ve taken or photos of yourself that can round out your visuals and make them more personal to your blog.
Photos
Moving down the sidebar, the next customization feature is Photos.
Canva has a gigantic library of stock photos available for use in your creations. Many of them are free, but some of them are only available for Canva Pro users, which is the paid version of this online platform.
When customizing using photos, you can click an image and it will drop onto your template or canvas.

Pro Tip: You can also drag an image to the corner of your template and if you hold it for a second, it will fill to fit the entire space.
Another cool thing about the photos available on Canva is you can filter them to only show a specific color, orientation or availability. This makes it super easy to find exactly what you’re looking for with ease.
Elements
Next up are elements, which are shapes, frames and stickers that you can add to your design.
The shapes are useful for creating things like colored text boxes or borders around your design. They also add another design element to your image as you can add funky shapes like stars, hearts, zig zags, thought bubbles, and beyond.
The frames in this section are similar to shapes, but they can be filled in with images. If you put one on your design, they’re basically placeholders until you add something else into them.
Finally, Canva has lots of unique and fun stickers that can be used. No matter what you’re looking for, Canva has a sticker for it!
Text
It wouldn’t be a design tool without the ability to add text.
Canva comes with lots of pre-designed text boxes with headings, subheadings, and body text. They also have an entire collection of font combinations to create eye-catching and professional-looking designs. There’s lots of cursive, neon text, and plain old headings with subheadings.
But the best part here is you don’t have to spend tons of time mixing and matching… just choose something from their library, drag it onto your design and fill it with your own words.
If none of these fit your fancy, you can also create standard text boxes.

Music
If you’re creating a video design on Canva, there’s a giant music library to add sound to your design. It covers tons of genres and even includes sound effects!
Videos
Rolling on the video wave, Canva has plenty of videos available to use. We’ve recently started experimenting with video pins for Pinterest and have found it super easy to integrate into pre-existing (or new) designs.
Canva has videos of people actually doing things, but also plenty of animated overlays if that’s the kind of thing you’re after. We’ve been creating video pins as a part of our Pinterest Strategy and have been getting relatively good impressions.
Background
The last design element available when customizing on Canva are the backgrounds.
They have so many backgrounds to choose from, it’s amazing! There are patterns, gradients, abstract designs, and pretty much anything else you can think of. This is also where you can find solid colors to fill in your designs.
Another great feature that Canva recently rolled out is the ability to instantly remove a background, allowing you to easily superimpose your image to a different image.

Step #4: Save and Schedule Your Design
Once you’ve created a design that you’re in love with, it’s time to save it.
Canva automatically saves all of your designs on your account, but you can also download them to have on your device.
To do this, click the “download” icon in the right-hand corner (next to the “Share” button). Then select what format you’d like and choose the page number you’d like to download.
From there, your download will start and you’ll be able to publish it on your blog and beyond!
Another new feature that Canva has rolled out (with their Canva Pro version) is the ability to schedule your graphics straight to Pinterest or Facebook, as soon as you connect your accounts.
While this is still in the beta stages, once they iron out the kinks, I think this will be an awesome addition to Canva’s overall functionality.
Our Top Tips for Using Canva
When it comes to using Canva for your blog, we have a few tips that you should keep in mind while creating designs.
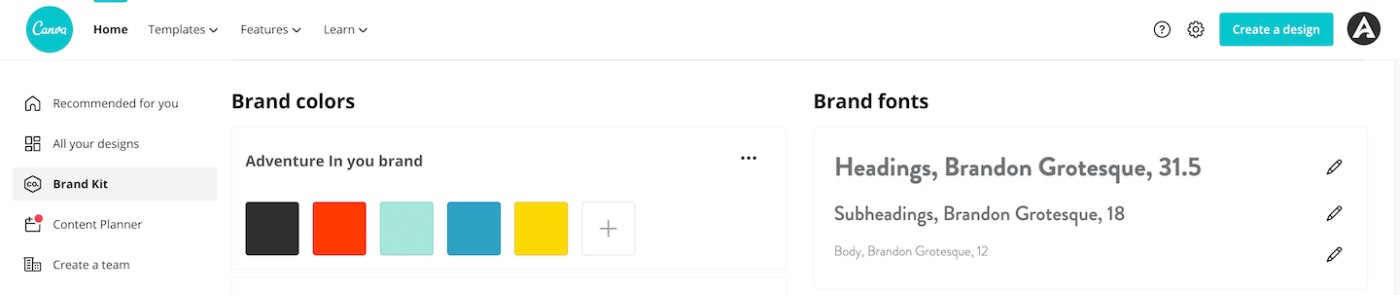
Decide on a Brand Look for Your Blog
First off, it’s really helpful if you can decide on a look and feel of your brand.
It’s easy to get swept away by the endless options Canva presents, but it’s best to choose a font and a color scheme that fits your blog and then stick with it. Doing this makes sure that things match one another on your blog instead of being a mishmash of styles across the board.
This also really helps if you hope to turn your blog into a brand. Creating images in the same style will go a long way in helping to create a cohesive look and feel to your blog.
With Canva Pro, you can actually create a branding kit where you can upload and save your brand’s logo, fonts, and colors that you use so that they’re always on hand when you’re creating a design for your blog.
Keep It Simple and Consistent
Remember, like most things in life, less is more when it comes to creating images for your blog.
Canva is great because there are so many options, but this doesn’t mean you have to use every single one of them! Keep it simple to create stunning images that won’t overwhelm your readers.
Once you have a style you like, stick to it!
You can make a couple variations of a design, but it really helps if you use the same format over and over. Being consistent will help to develop your brand’s style so that eventually it can be recognized just from a single image.
Want to grow your blog into a successful business?
Learn how we grew Adventure In You into a 6-figure blog in our FREE training!

Is Canva Pro Worth It?
To make the most of all that Canva has to offer, it’s definitely worth upgrading to Canva Pro.
With Canva Pro, not only do you have unlimited access to all of the images, templates, and elements available, but you also unlock additional features like Magic Resize, which allows you to take any design and resize it for different platforms.
Canva Pro also allows you to create a branding kit where you can easily keep track of your unique color scheme, fonts, and logos so that you can always access them with the click of a button.
Finally, with Canva Pro, you can export your designs in more formats like GIFs and MP4 videos, which is handy for rounding out your social media content.
Canva Pro makes it extremely easy to make beautiful images for your blog and is much cheaper than paying for a full-blown design software. It’s worth it to have stunning designs available to use at your fingertips in every category imaginable.
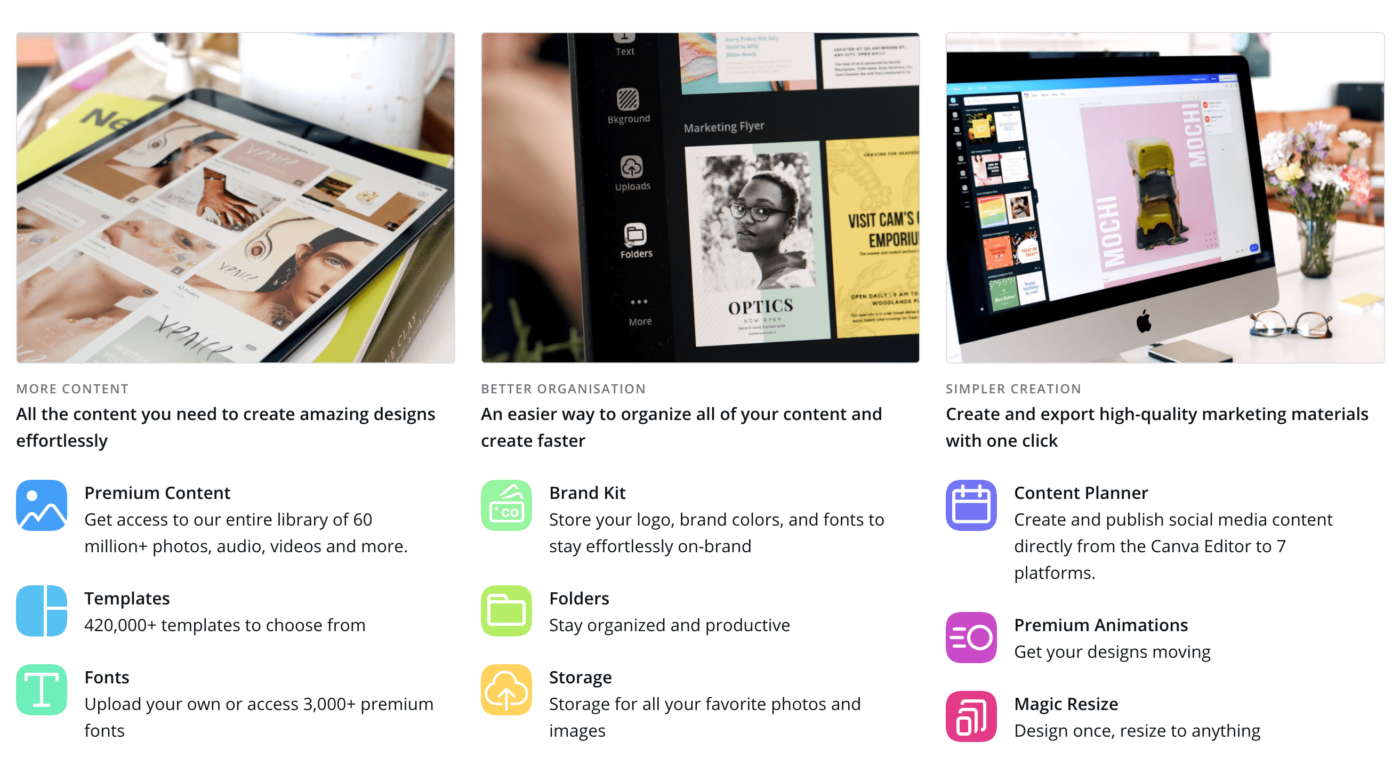
With Canva Pro, you have:
- Access to 60,000 templates
- More than 60 million images, elements and graphics (this one is GOLD!)
- A branding kit with your blog’s color scheme, logos, fonts, and more
- Magic resize to use a single image across multiple platforms
- The option to animate graphics and export videos
Starting at just $10 per month (at the time of this review), Canva Pro is one of the most reasonably-priced graphic design programs out there.
Considering a stock photo subscription on its own costs (at minimum) $29 a month, Canva Pro is totally worth it as you get access to stock photos… and a whole lot more.
Plus, since it’s online, you’ll have access to the platform on any device so long as you have WiFi.
To make your choice even simpler, here’s a price breakdown of Canva Pro compared to other design platforms.
| Canva Pro | PicMonkey Pro | Adobe Photoshop |
| $9.95 per month | $12.99 per month | $20.99 per month |
The closest thing to Canva online is PicMonkey, which doesn’t have a free version at all.
Their Basic plan starts at $7.99 which has the same functionality as Canva’s free version. To get more advanced features, users must upgrade to their Pro plan, which offers unlimited storage, but lacks additional bonuses that Canva Pro has like video formats and animation.
Overall, Canva really is the best online design tool out there, especially because of all it can do. While there are other options, Canva Pro takes the cake every single time.
Canva has been a total lifesaver for us as bloggers.
Since graphic design has never been our strong suit, Canva has made the process such a breeze when it comes to creating images and visuals for our blog. We used to struggle to create layouts for our designs and getting everything to look just right, but with Canva, there’s simply nothing to struggle with anymore.
If you’re a blogger looking for a graphic design tool, it doesn’t get much better than Canva.
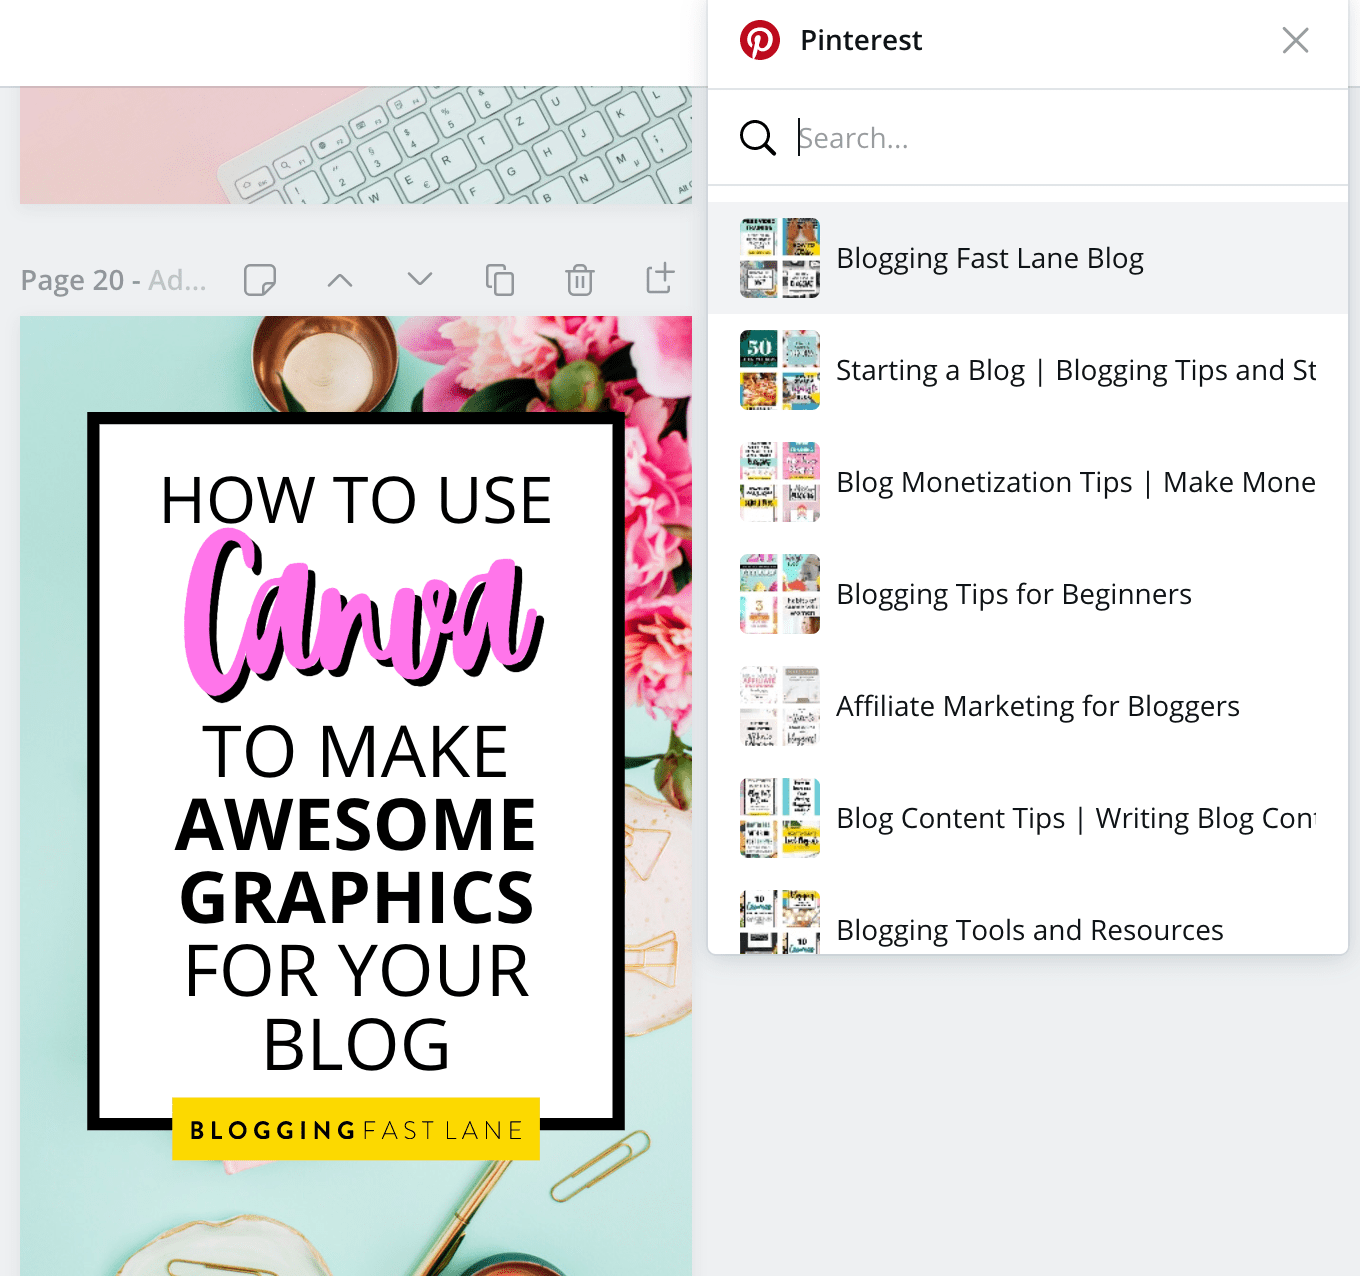
Like this Article? Pin it!